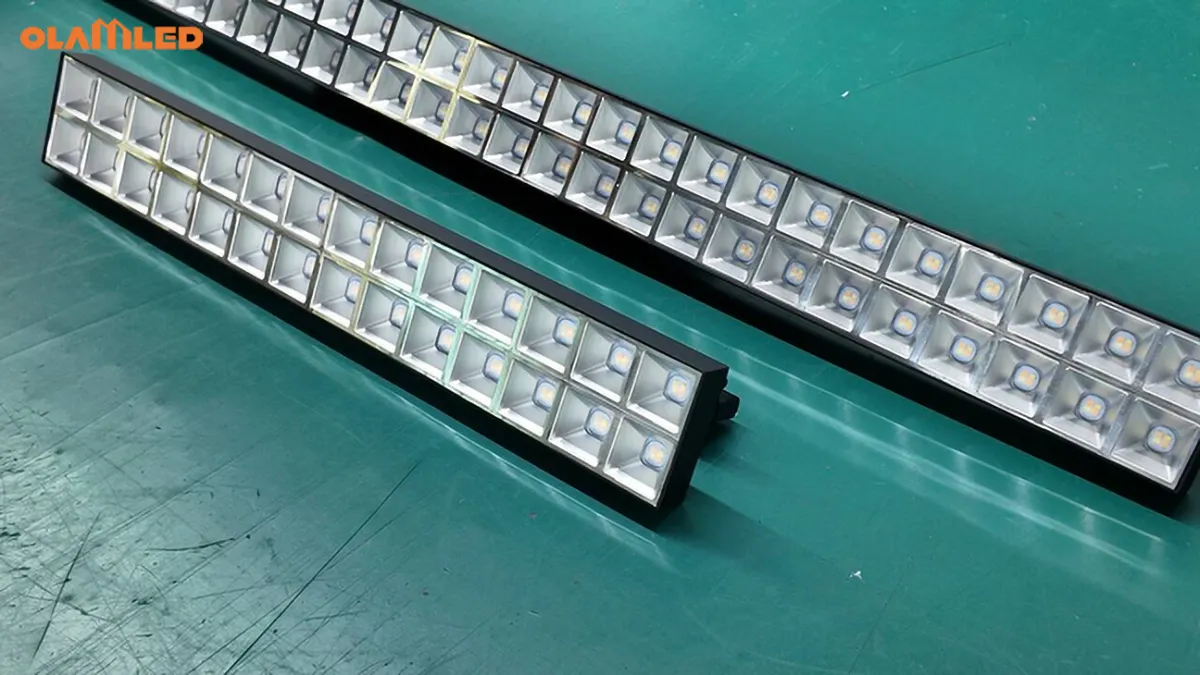
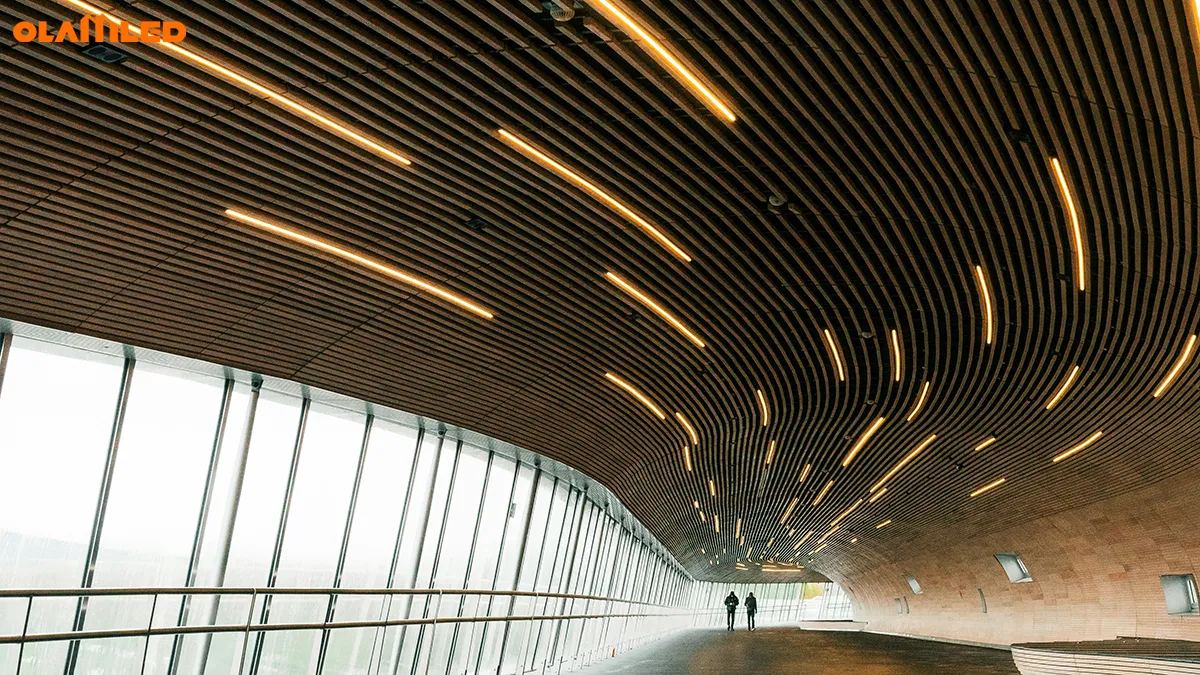
Select a linear light fixture as part of the ceiling system. The mounting method affects ceiling work, bracket loads, cable routes, driver access, continuous-run alignment, glare, and future maintenance. A fixture can match the product image and still require costly site changes when these interfaces remain undefined.
This guide compares surface-mounted, recessed, and suspended options for commercial projects, covering the reflected ceiling plan, luminaire schedule, shop drawing, and RFQ. For terminology and fixture types, read our complete guide to LED linear lighting. For available families and mounting configurations, review OLAMLED’s commercial linear light fixture range.
Start With the Ceiling Interface, Not the Fixture Shape
The ceiling interface determines which installation can be built and serviced. Concrete slabs, exposed steel decks, T-grids, and gypsum ceilings require different fixing, wiring, and access methods even when the target illuminance is the same.
Record these conditions before selecting a mounting type:
- Structural substrate: Identify the slab, deck, grid, framing, or approved secondary support that will carry the fixture.
- Finished ceiling: Record the ceiling material, void depth, grid module, fire compartment, and permitted cutout.
- Service zone: Show where drivers, emergency modules, connectors, and control wiring remain accessible after handover.
- Run geometry: Define the overall length, module lengths, blank sections, corners, intersections, end conditions, and power-feed locations.
- Visual task: State the target illuminance, uniformity, vertical light, screen use, color quality, and glare criterion.
This sequence avoids a common coordination error: selecting the housing first and resolving the ceiling detail after procurement.
When Should You Use a Linear LED Surface Mount Fixture?
A linear LED surface mount fixture is usually the lowest-risk option when recess depth is unavailable, ceiling cutting is restricted, or the existing finish must remain largely intact. The housing remains visible and attaches to a prepared surface.

Best-Fit Commercial Conditions
Surface mounting suits concrete ceilings, exposed decks, retrofit offices, corridors, back-of-house areas, and shallow ceiling zones. It also suits long lighting lines along circulation routes or workstation bays without opening the ceiling along the full run.
The installer still needs a verified substrate and compatible anchors. A suspended ceiling tile is not a structural fixing point. Corrugated deck, uneven concrete, fire-rated linings, and concealed services may require backing plates, secondary steelwork, or revised bracket positions.
Brackets, Alignment, and Cable Entry
Bracket spacing should follow the approved installation instructions and fixture mass. The fixing design must address pull-out capacity, vibration, seismic restraint where required, and added weight from emergency equipment or through-wiring.
Long runs make small errors visible. A bracket placed a few millimeters off-axis can create a step at the next joint. Set out the complete line from one datum and check both end conditions before drilling the intermediate fixings.
Cable entry also affects the finished result. Decide if power enters through the end cap, rear housing, or a separate feed module. Coordinate the entry with containment, fire stopping, and the control circuit.
OLAMLED’s PF Series linear LED surface mount fixture supports continuous layouts and straight, L, T, and X connections. Confirm the selected model’s maximum connected quantity, connector rating, feed arrangement, driver function, and joint appearance before releasing the BOQ.
How Should Ceiling Linear Lights Be Coordinated With the Structure?
Ceiling linear lights need one coordinated drawing that connects the luminaire layout to structure, ceiling construction, electrical feeds, and maintenance access. A lighting plan alone does not show whether the proposed line can be fixed, powered, aligned, and serviced.
The coordination drawing should identify:
- every fixture module and connector;
- suspension or surface-fixing points;
- ceiling cutouts and tolerances;
- power-feed and control-feed positions;
- driver and emergency-module locations;
- sensors, blank sections, and expansion joints;
- access panels and removal directions.
Continuous light does not require one continuous housing. A 12-meter line may contain several mechanical sections, drivers, diffusers, and electrical feeds. Require the shop drawing to show these boundaries. This identifies inaccessible drivers and unwanted dark joints before the ceiling closes.
Recessed Commercial Linear Lighting
Recessed linear lighting suits projects where the ceiling can accept accurate cutouts and the service method is resolved. The luminaire and ceiling form one visual detail, which makes dimensional errors visible.
Trimmed or Trimless?
A trimmed fixture uses a flange to cover the cut edge. This detail tolerates small ceiling variations and usually simplifies replacement.
A trimless or plaster-in channel creates a clean ceiling line. It also places more work with the ceiling contractor. The channel must be fixed and aligned before finishing, the optical aperture needs protection during plastering, and the removal method must protect the finished edge.
Choose trimless only when the drawing defines the installation sequence, finish tolerance, protection, and service access. “Flush mounted” is not a complete detail.

Cutout and Driver Access
Specify cutout length, width, corner condition, tolerance, and relationship to ceiling joints. For T-grid ceilings, coordinate the luminaire with the grid module and provide independent support where required. The ceiling tile should not carry the fixture unless the approved ceiling system permits it.
Driver location affects future service. An external driver can shorten replacement work when a technician can reach it through the fixture aperture or a documented access panel. An internal driver keeps the assembly compact but may require lowering the luminaire.
The PR Series recessed linear light uses an external driver and spring-clip installation. Match the exact model, cutout, optical distribution, glare data, driver, and control option to the approved ceiling detail.
UGR Must Be Verified in the Room
UGR is a room-level calculation. Luminaire luminance distribution matters, but room dimensions, surface reflectance, mounting height, spacing, observer position, and viewing direction also affect the result.
A product described as UGR below 19 does not guarantee the same value in every layout. Use the correct photometric file and project geometry to verify the design. For formal calculation methods, review the CIE guidance on Unified Glare Rating, and see OLAMLED’s office glare and eye-strain guide.
When Is Suspended Linear Lighting the Better Option?
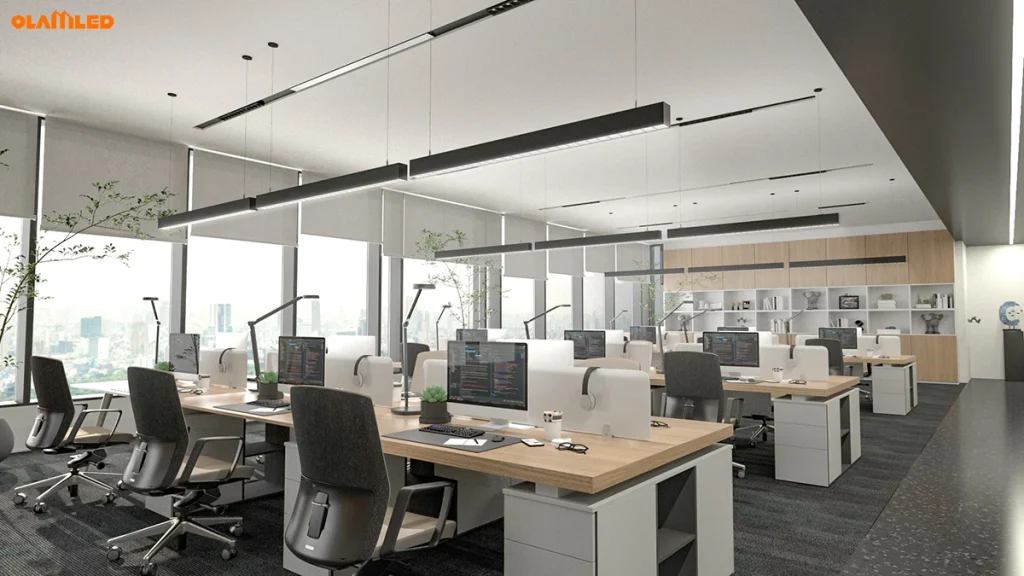
Suspended linear lighting works best when the structure is high, the ceiling remains open, or the optical plane must sit below ducts and beams. Aircraft cables or rigid stems establish a controlled mounting height independent of the slab or deck.

Lowering the fixture can improve task-plane delivery and visual proportion. Direct/indirect output can also raise ceiling luminance in an open office. The design must still coordinate suspension points, adjustment range, power drops, sway, seismic restraint, and level alignment.
Choose suspended rather than surface-mounted when mounting height or uplight materially improves the lighting result. Choose it rather than recessed when the exposed structure is part of the architecture or ceiling cutting is impractical. Avoid suspended runs where material-handling equipment, ball impact, or strong air movement creates a collision or stability risk.
Surface Mount vs Recessed vs Suspended: Decision Matrix
The correct mounting type is the option the ceiling can support and the maintenance team can service without damaging finished work.
| Mounting Type | Ceiling Compatibility | Installation Labor / Complexity | Maintenance and Driver Access | Primary Commercial Applications |
| Surface-mounted | Concrete, exposed deck, drywall with verified backing, shallow ceiling zones | Low to medium; bracket accuracy and visible cable routing matter | Fixture and internal components are generally accessible from below | Retrofits, corridors, solid-ceiling offices, circulation routes |
| Recessed, trimmed | T-grid or drywall with adequate void depth and a controlled cutout | Medium to high; ceiling cutting, support, and trade coordination are required | Good only when the fixture or driver can pass through the aperture | Offices, retail, schools, reception areas |
| Recessed, trimless | New gypsum ceilings with planned channels and finishing sequence | High; tight tolerance, protection, plastering, and alignment control | Must be designed; poor access can damage the finished ceiling | Premium offices, hospitality, showrooms, architectural lines |
| Suspended | Open plenum, high ceiling, steel deck, or slab with approved anchors | Medium; suspension, leveling, power drops, and restraint require coordination | Usually accessible from below, subject to safe working-height access | Open offices, showrooms, atriums, education spaces, high retail areas |
Five Specifications Every Linear Lighting RFQ Should Include
A useful RFQ gives the supplier enough information to price a buildable, testable configuration. Include these five groups.
1. Photometric and Performance Package
State the target lumens or illuminance, uniformity, optical distribution, UGR criterion, CCT, CRI, and initial color consistency. Request model-specific IES or LDT files and a DIALux calculation where the project requires verification.
For source maintenance, request the applicable LM-80 report and TM-21 projection. These data address LED-package lumen maintenance, not complete-luminaire service life. Drivers, connectors, optics, and thermal conditions create separate failure modes. The U.S. DOE solid-state lighting test-method overview provides the relevant standard references.
2. Mechanical Configuration
List the mounting method, housing profile, module lengths, overall run length, connector geometry, finish, feed location, and permitted dimensional tolerance. Add reflected ceiling plans and sections. A product code without run geometry is not enough for a continuous installation.
3. Driver and Control Protocol
Define on/off, 0-10V, DALI-2, D4i, sensor control, or another required interface. State the dimming range, addressing responsibility, fade behavior, bus-power arrangement, and commissioning scope.
For DALI-2, request the exact driver manufacturer, model, and GTIN where available. Verify the component in the DALI Alliance certified product database. “DALI compatible” and “DALI-2 certified” are different claims.
4. Emergency Configuration
Specify maintained or non-maintained operation, required duration, emergency lumen output, battery type, indicator position, test method, and local compliance basis. Confirm whether the emergency module is internal or remote and how technicians will reach it.
Emergency output is not the normal wattage on battery power. Require photometric evidence for emergency operation and coordinate it with the emergency-lighting layout.

5. Submittal and Approval Evidence
Require a model-specific datasheet, dimensional drawing, installation instructions, wiring diagram, photometric file, driver declaration, relevant test reports, finish sample, and revision-controlled BOM. Mark the exact offered combination when one datasheet covers several wattages or optics.
Record who approves the drawing, sample, control gear, and photometric result. Then lock those references into the production order. This prevents an approved sample from drifting into a different mass-production configuration.
Linear Light Fixture FAQs
Which linear light fixture is best for a concrete ceiling?
A surface-mounted fixture is usually the most practical option because it avoids a full-length ceiling cutout. Verify anchor capacity, bracket spacing, cable entry, ceiling level, and the route to every driver before approval.
Are ceiling linear lights suitable for T-grid ceilings?
Yes, but the grid module, fixture size, independent support, driver access, and tile-removal sequence must be coordinated. Do not assume the ceiling tile can carry the luminaire.
When should I specify a linear LED surface mount fixture instead of a recessed model?
Specify surface mounting for solid ceilings, shallow voids, retrofit work, or projects where ceiling cutting adds cost and downtime. Choose recessed lighting when architectural integration justifies the extra coordination and access has been designed.
Does UGR below 19 guarantee low glare in every office?
No. UGR depends on the complete room and luminaire layout. Verify the selected photometric file with the actual room geometry, reflectance values, spacing, mounting height, and viewing direction.
What information should a supplier receive for a continuous run?
Send the total run length, module breakdown, joint types, feed points, circuit loading, control topology, corners, blank sections, suspension or fixing points, ceiling sections, and finish requirements. Ask for one coordinated shop drawing before production.
Send a Coordination Package, Not Only a Fixture Schedule
The best quotation starts with a complete ceiling and run package. Send the reflected ceiling plan, ceiling sections, mounting height, target light levels, glare requirement, module layout, circuiting, control narrative, emergency strategy, finish, and approval documents.
OLAMLED can review these inputs through its custom commercial lighting engineering process. Request a model-level configuration, connection plan, photometric package, driver schedule, and customization scope before releasing the order.